Showing posts with label tutorial. Show all posts

Monday, February 16, 2015

Tutorial: Fast and Easy Half Rectangle Triangles


This is my new favorite way to make half rectangle triangles (HRTs). Using the Recs Tool by Darlene Zimmerman and Joy Hoffman makes it so fast and easy. The tool is etched with markings to make several sized blocks. For this tutorial, I'm making the 6 1/2" sized block.


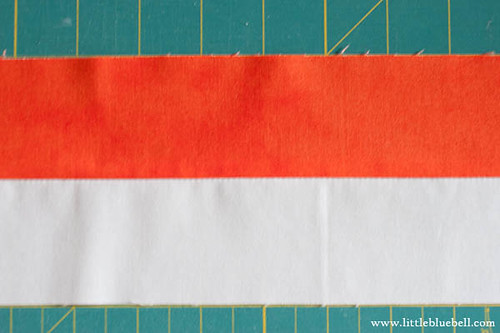
1) Cut a 6 1/2" strip


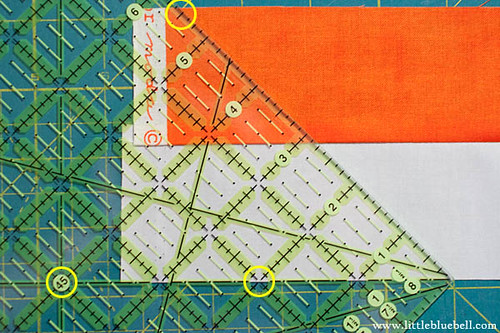
2) Cut out pieces using the Recs Tool


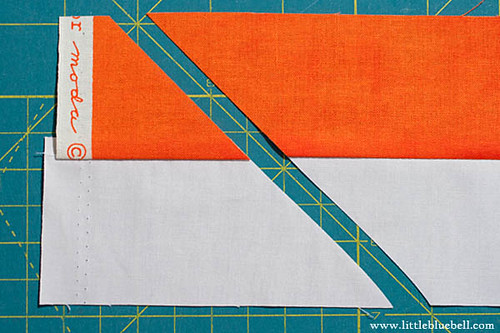
3) Rotate Recs tool and cut another piece


4) Continue cutting down the strip until you have as many pieces as you need.


5) Choose two pieces with contrasting colors or value


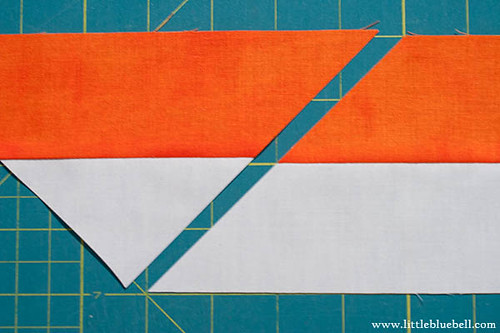
6) Sew together using a 1/4" seam allowance. Use the snipped angle for alignment.


7) Press seams open


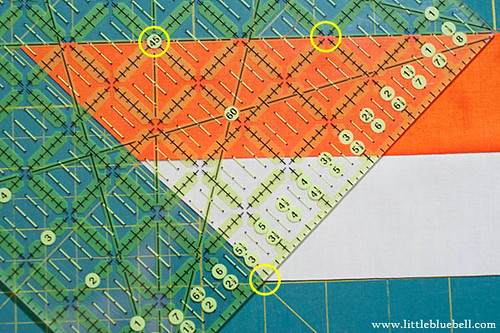
8) Trim and your block is done. So easy! : )

Sunday Sail quilt in progress

Make a bunch more you will have a fun HRT project before you know it!


Saturday, February 22, 2014

Layer Cake or Charm Pack for Christmas Stars

This post contains bonus cutting guides for the Stargazer Quilt Block Tutorial. For the original tutorial and piecing guide click here. 

When I worked out the math for the Stargazer blocks, I did it with layer cakes and charm packs in mind. I like using as much of the fabric as possible in as few cuts as possible. If there are extras, I know I'm more likely to use them for other projects if they are usable sizes. So with that in mind, here is a way you can cut out your pieces either from layer cakes, or charm packs.

I used a layer cake of Cherry Christmas by Aneela Hoey for my Christmas Stars quilt.


For each block you will need:

Star Fabric
(1) 4.5" x 4.5" square
(8) 2.5" x 2.5" squares

Background Fabric
(8) 4.5"x4.5" squares


USING A LAYER CAKE
A layer cake is a pre-cut stack of ten inch squares. You will need one layer cake square plus background fabric for each star. If you cut carefully, you will have enough fabric for your stars and a bonus stack of five inch squares for your stash.


USING CHARM PACKS
A charm pack is a pre-cut stack of five inch squares. You will need three matching charm squares plus background fabric to make each star block.


There is one more trick to make piecing your quilt top even faster. Instead of diagonally marking each squares, place a piece of painters tape in line with your needle to use as a piecing guide. I also use this technique when making flying geese and snowball blocks.


Note: I originally posted this video on Instagram and in order to make it fit, I had to speed it up. I don't really sew this fast!

Thursday, January 31, 2013

Stargazer Quilt Block Tutorial

I love this quilt by Monica Solorio-Snow of Happy Zombie. When I saw Constealltions by Lizzy House, I knew it had to be made into a star quilt!  To make the blocks even more graphic, I removed the borders and reversed the colors. Then, I wanted to resize it to make a 12" block. Here are my measurements and a step by step guide to the block construction.


For each star you will need the following:

   (8) 4.5"x4.5" colored squares
   (1) 4.5"x4.5" white square
   (8) 2.5"x2.5" white squares


Draw a diagonal line across each 2.5"x2.5" white square.


Place one 2.5"x2.5" white square on top of one 4.5"x4.5" colored square. Sew along the marked line.


Trim 1/4" away from the sew line. Press.


Place another 2.5"x2.5" white square in the opposite corner. Sew along marked line.


Trim 1/4" away from the sew line.


Press and repeat to make four.  These are your star points!


Arrange your pieces as shown below.


Sew together into three rows.


Join rows to complete block.


I used 12 fat quarters for my Stargazer quilt. The finished quilt measures 48"x72". If you use the full 18" of your fat quarter, you can get enough squares to make two stars. A cutting guide and fabric requirements for additional sizes are included in the free project sheet.


UPDATE: I've added a bonus cutting guide for using Layer Cakes and Charm Packs.

Wednesday, February 8, 2012

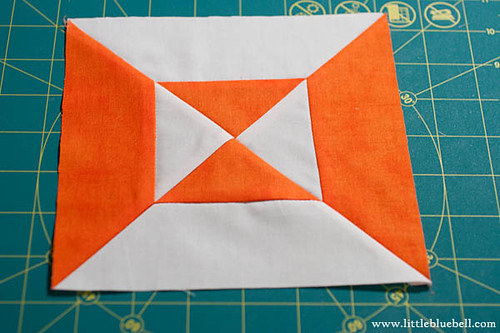
No Template Double Hourglass Block Tutorial


All seams are 1/4". Strips are cut along the width of fabric, approximately 42" wide. One strip set will make two Double Hourglass blocks.

CUT FABRIC: For each strip set, cut the following:

(1) 2.25" x 42" white strip
(1) 2.25" x 42" color strip

No Template Double Hourglass Tutorial

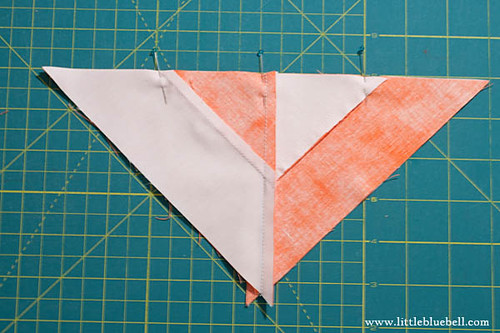
STEP 1: Place two strips right sides together, and sew along the long side. Press. I recommend pressing to the side instead of open for this block. It really helps your points line up.

No Template Double Hourglass Tutorial

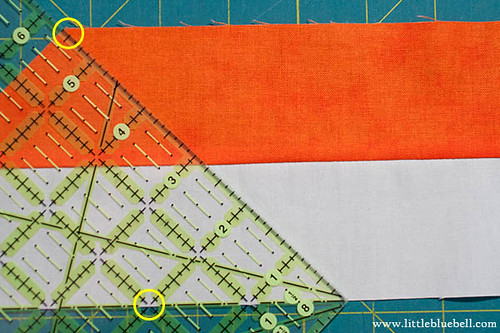
STEP 2: Find the 45 degree line on your ruler. Place it along the bottom edge of your strip set. Look at the top of your strip set and make sure that the ruler is just past the selvage.

No Template Double Hourglass Tutorial


STEP 3: Holding your ruler firmly, make your first cut.

No Template Double Hourglass Tutorial

STEP 4: Line up the 45 degree line along the top of your strip set. Make sure it's nice and straight along the length. Line up the bottom of the strip set with the very edge of your ruler. This is the tip of your triangle so take your time to place your ruler just right.

No Template Double Hourglass Tutorial

STEP 5: Make your second cut.  Now you have a triangle!

No Template Double Hourglass Tutorial

STEP 6: Now line up the 45 degree line along the bottom of your strip set. The top of the strip set should just touch the edge of the ruler. This is the tip of your triangle. Cut carefully.

Continue down your strip set, repeating steps 3-5 until you have cut eight triangles.

No Template Double Hourglass Tutorial

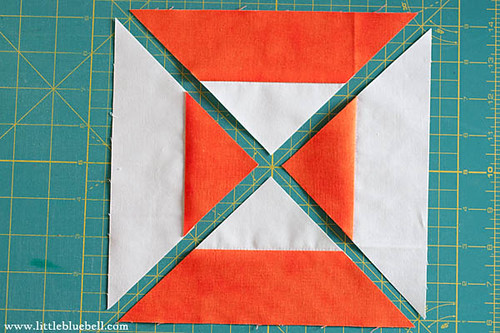
STEP 7: Arrange in the layout shown. 

No Template Double Hourglass Tutorial

STEP 8: Pair up the triangles and sew them together using a 1/4" seam. 

No Template Double Hourglass Tutorial

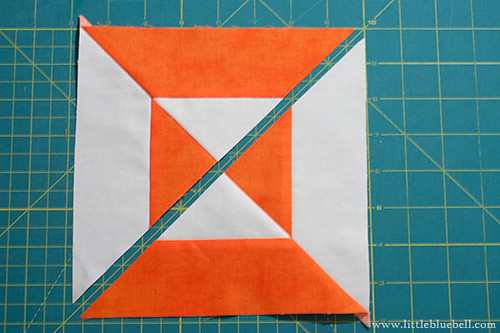
STEP 9: Pin and sew together as shown.

No Template Double Hourglass Tutorial

STEP 10: Trim your block to 7" square.

Printable Version

Wednesday, February 16, 2011

On the Design Wall: Hexagon Crush


Lookie, I've got big, chunky hexagons on my design wall.  My friend Bari introduced me to this super easy hexagon technique.  It's great because you can make your hexagons any size you want... even 6".  I want to show you how I went about cutting into my Innocent Crush fat quarters.

1) Fold your Fat Quarter in half with the selvage along the top.  Cut one 6" strip.

**I'm making a lap sized quilt.  I cut two 6" strips from each fat quarter in the bundle.  This will give me 132 hexagons and extra scraps to play with later. w00t!**

2) Open your strip and refold it in half lengthwise.  The fold goes at the bottom.


3) Line up your ruler (like in the video below) and cut on either side of your ruler.


4) Keep lining up your ruler and cut down the strip.


5) Unfold your pieces and look... hexagons! Easy right?
6) Playing with leftovers...
7) This is the only ruler I could find locally.  It worked great!

Enter to win an Innocent Crush bundle.  Then you could make your own Hexagon Crush quilt.  : )


And without further ado... take it away Kaye Wood

LinkWithin

Related Posts Plugin for WordPress, Blogger...